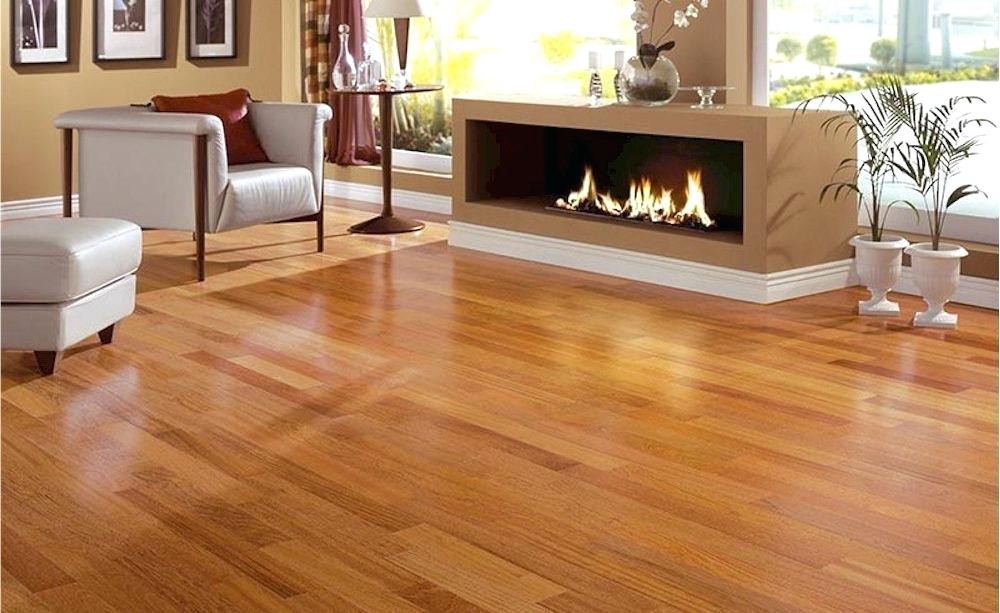
Wood Flooring Installation On Your Own
The installation of wood flooring is quite certain and fastidious. The installation of a hard wood floor is a colossal interest in your home. It will build the estimation of your home as well. Hard wood floors make for a hypersensitivity free home. When introducing a wood floor it is suggested that it be introduced by an expert wood floor contractor. One error and the wood floor may require substitution in a couple of years, rather than a long life expectancy of 100 years.
The materials and devices that will required are the cover flooring, change fitting, cover cushion, material felt, scissors, finish nailer, knee cushions, measuring tape, and an elastic hammer. 2 days before installation of the flooring, unload it and spread it out level on the floor so it can get acquainted with the home’s dampness. This will reduce clasping of the wood after the floor is introduced.
Measure the room that the flooring installation near me will be introduced in, add on 10%to 15% for mistakes that can happen when cutting the flooring or substitution later on.
Look at the sub floor, you should eliminate any flooring or covering that is in the installation room alongside the base sheets. Ensure that the floor is spotless, and put down the fume obstruction with a cover of 3 inches. Use tar paper or felt as the fume hindrance. The old flooring material should be pulled to the landfill, and most trash asylums charge an expense for the utilization of their administrations. Recollect that in the event that you introduce the flooring your knees, back, neck and shoulders will be difficult.
On the off chance that the flooring was introduced by an affirmed wood floor installation organization, they would tidy up all the old flooring or covering in a short measure of time. The organization would likewise discard the old materials. This would spare you the asylum administration charge.
Imprint where the floor joists are and start the installation. Snap a chalk line ¾ from the divider, this takes into consideration the floor to move and expand with the dampness. Adjust the edge of the board to the chalk line, and screw the sheets down through the board and into the sub-floor and floor joist. Follow this cycle until the primary line is finished. Ensure that you lay the main sheets at a 90 degree point to the floor joist that is underneath it. Screw the sheets down until there is sufficient freedom for the nailer. Utilize a screw for each 10 of flooring.